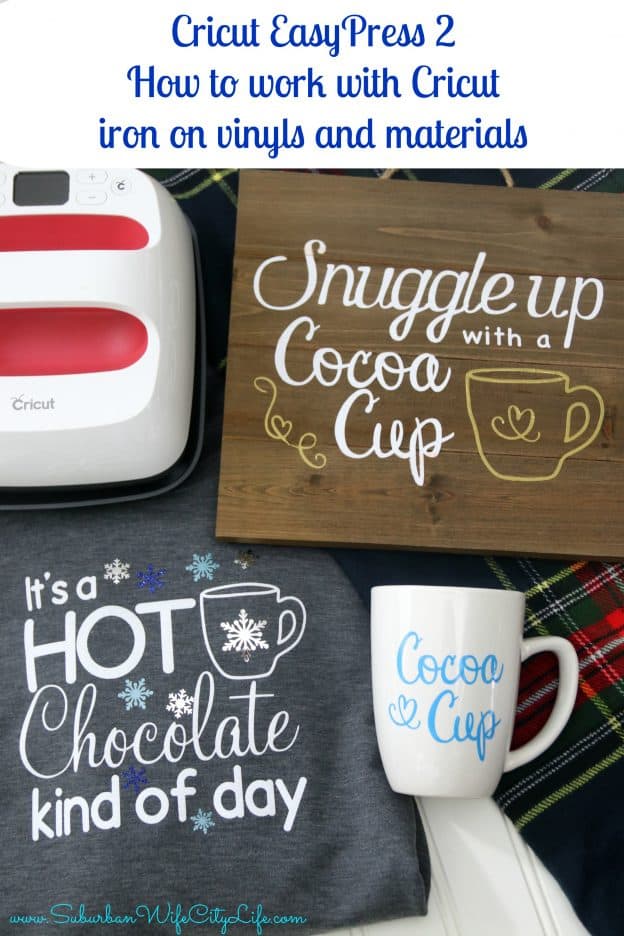
What Material Does Cricut Iron on Work With


How to use iron-on vinyls on different materials using a Cricut cutting machine & EasyPress 2. Simple instructions and tips for the beginner.
This iron on vinyl tutorial can be used for many different projects. Holiday hair bows, Disney Face Masks, some of my favorite Halloween costumes (Dog Man, Dubble Bubble) and Christmas fun (Christmas Eve bag, holiday hats).
I've been crafting away with my Cricut and EasyPress 2 trying out the different types of vinyl and what materials I can use as the base. I've pulled together 2 projects to help share what I've learned about how to work with different Cricut Iron on vinyls and materials with the EasyPress 2.
Types of Cricut Iron on Vinyl
There are lots of different kinds of Cricut Iron on vinyl. I find I use the Cricut Iron-on Lite, Metallic, Glitter, and Foil the most, but I'm starting to use the SportFlex, Holographic and Patterned iron on a little more. Some of these even have the StrongBond Guarantee, which means when the Iron -on is used as directed if you aren't satisfied they'll replace it for free.
Types of surfaces you can add Iron-on
When it comes to figuring out what type of surface you can add iron on vinyl too I think you'll be surprised with the different things. My go to is making shirts, so cotton and cotton polyester blends seem like a no-brainer, but you can also add to burlap, cardstock, chipboard, corkboard, cotton canvas, faux leather, felt, jersey mesh, felt, jersey mesh, polyester, silk, neopreme, nylon and even wood.
I have a Free Printable for Cricut EasyPress 2 Settings that will give you a breakdown of temperatures and time.
Snuggle up with a Cocoa Cup sign
With the winter months I love snuggling up with a good cup of Hot Cocoa. I thought this would make for a cute sign so I decided to try out using Iron on with wood. It was a learning process but I love how the sign turned out.

Snuggle up with a Cocoa Cup sign Supplies needed:
- White Glitter Iron on
- Gold Lite Iron on
- Wood sign (this one is 10 x 10)
- Snuggle up with a Cocoa cup design
- Cricut EasyPress 2
- EasyPress Mat
I designed the sign in Cricut Design Space using Cricut access fonts and designs.
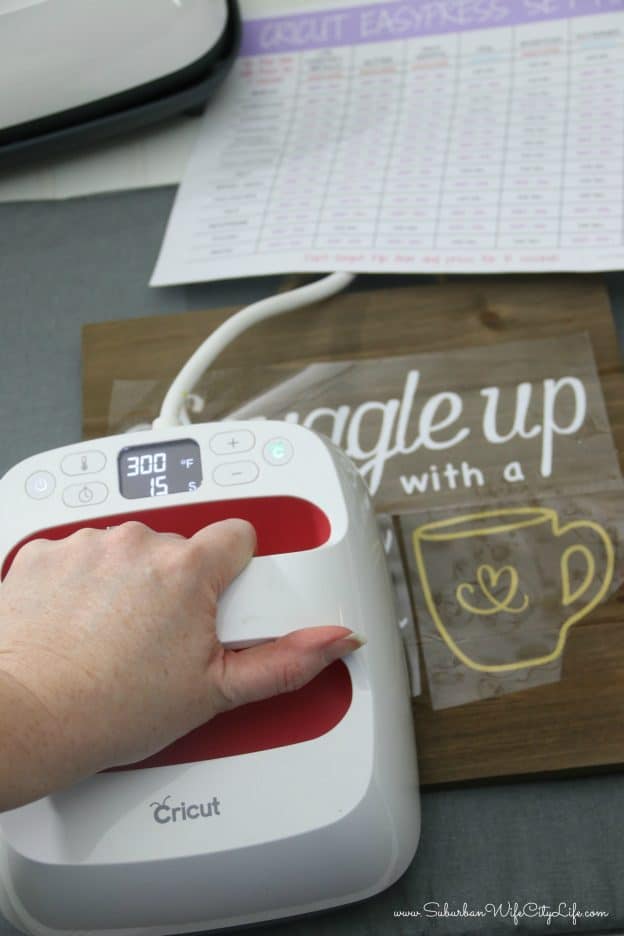
How to apply this design:
- Weed the image.
- Heat up the EasyPress 2 to 300 degrees
- Place the iron on vinyl on the sign.
- Use the EasyPress 2, with light pressure, for 40 seconds
- Place the EasyPress 2 back in the dock and then use a scraper over the vinyl. I found this to be helpful.
Tip:
- When cutting make sure you lay the iron on vinyl face down to the mat and don't forget to select mirror on when going to cut.
- Now the key is to not remove the top layer till the sign is cooled. I found when I did it when it was hot things did not go well, so let it cool, then come back and try. If it hasn't adhered to the wood go through the steps again.
How to apply Cricut Iron on Vinyl to Wood
The thing about putting iron on to wood is each piece of wood is different so the vinyl will adhere a little differently. I found the glitter iron on stuck easily, but the gold was a little trickier. You have to be careful not to melt the vinyl or pull the top away too quickly because that will cause the vinyl to pull and pucker.

How to use different types of Cricut Iron on vinyl on the same shirt
When it comes to shirts I'm always coming up with a new idea. I have tons of Disney shirts and am coming up with new ones each month. This month is all about Hot Chocolate, so I designed this shirt: It's a Hot Chocolate Kind of day in Cricut Design Space.
Supplies Needed:
Glitter Iron on
Iron on Lite
Foil Iron on
Shirt
It's a Hot Chocolate Kind of Day Design
Cricut EasyPress 2
EasyPress Mat
It's a Hot Chocolate Kind of Day Shirt
To make this shirt I used Cricut Design Space and picked items and fonts from Cricut access.
When going to cut the vinyl make sure you place is face down on the mat and don't forget to select mirror image.
Weed your designs
Heat up your EasyPress 2
When doing multiple different types on vinyl in the same area I like to start with the biggest and/or bottom layer first. For this shirt it's the glitter iron on.
I press the shirt for 5 second prior to placing the design on then use the easy press.
Once I've pressed it I pull the top layer off while it's still warm.
 I then change the settings of my EasyPress 2 for the next vinyl, which is the Iron on Lite. I place the snowflakes where they need to go and press.
After I pull back that layer I reset the EasyPress 2 for the Foil settings. I always end with the foil setting as it shouldn't be heated up multiple times, and it's also not designed to be layered.
Once you've done all the layers turn your shirt over and press for 15 seconds.
Cricut EasyPress 2
 The Cricut EasyPress 2 has made trying new things and taking the guess work out of will it or won't it work so much easier. It's a tool that can be used to help create endless projects, gifts and fun.
 What type of project would you like to try with the Cricut EasyPress 2?
Make sure you check out my other Cricut Posts:
FAQs about the Cricut EasyPress 2 and FREE Settings Printable
Disney Sleep Masks Cricut EasyPress 2
What Material Does Cricut Iron on Work With
Source: https://suburbanwifecitylife.com/cricut-ironon-vinyls-and-materials-easypress2/